
Creating the perfect Family Portrait in the age of Coronavirus
The Who, Where, What and Hows of Family Portraits a guide for the do it yourselfer or this will let you know our thought process if you would like us to create your family portrait.
Now, more than ever, the idea of capturing family on film seems to matter. It’s interesting how a pandemic can put everything in perspective and reorder our priorities. A family portrait can mean absolutely everything. Every time that I look at mine, it brings a smile to my face and gives me that warm feeling knowing I did something right in this world.
In this time of Covid-19, I thought I’d put together the ‘who,’ ‘what,’ ‘where’ and ‘how’ of family portraits, as we at Robert Akers Photography see these. And for the do-it-yourselfers out there, let this be a ‘how-to’ guide.
1) WHO will be in the family portrait? Will it be core family? Extended family? Will there be pets? These things matter when it comes to factors such as lighting and positioning.
2) WHERE will the portrait be created? Will it be at home? Inside the home? In the backyard? At a park? In the mountains? On the beach? Every location has advantages and disadvantages. If shooting inside the home, there needs to be a good-sized room in which to shoot. I will always opt for the largest room because I want to be as far away from everyone as possible. This is primarily to reduce lens distortion, which makes people in the middle of the photograph look bigger and those on the sides look smaller, as well as bends lines and makes them look unnatural. A larger room also helps create a more natural and spacious photograph, rather than one in which everyone looks jammed together.
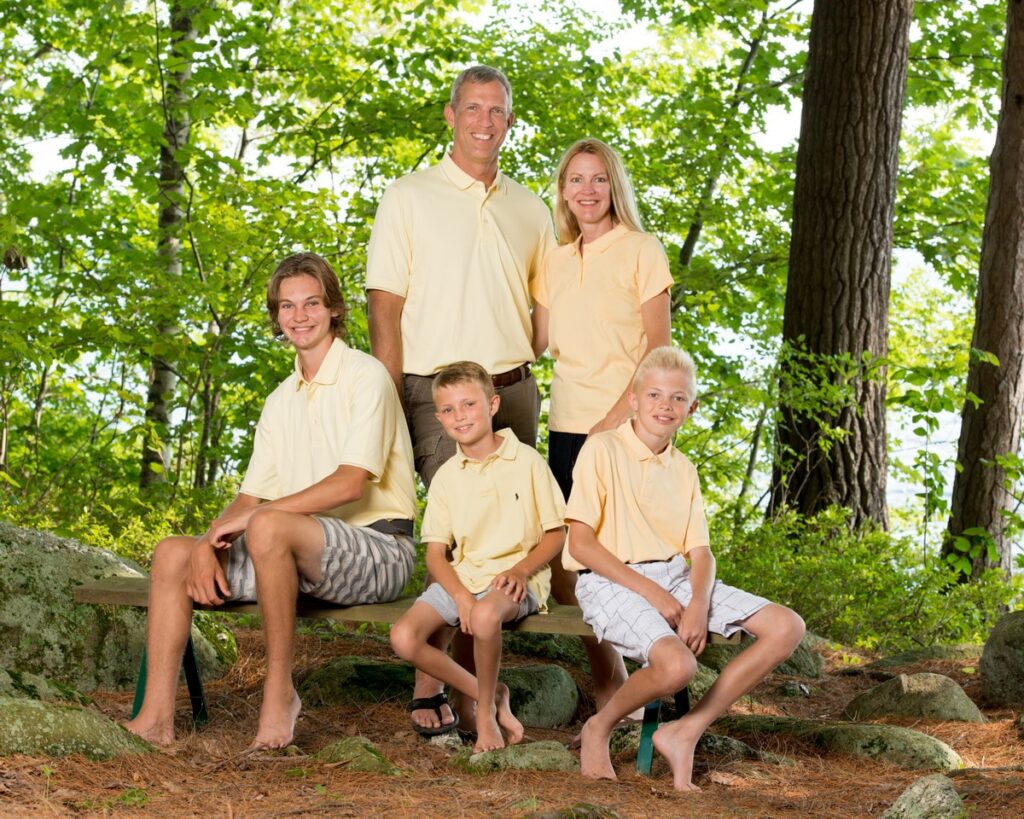
Many great photographers have told me, ‘Take beautiful landscape picture and then put a family in it.’ And they’re right. In other words, step number one is to go out and compose a beautiful landscape image. (This is where a professional, who has done this hundreds of times, has a great advantage.) Consider the time of day as you set the scene, as an outdoor location may be great at high noon and not good whatsoever at 4 PM – or perfect at sunrise, but not sunset. Backyards can be tricky in terms of finding the right shade/light balance. I always like being on the edge of shade, putting the family about 3 feet into the shade. This gives a nice direction of light. But, watch out for spots of light coming through the trees and making ‘hot spots’ on people. Also, look to see what is behind the subjects. You don’t want it to look like a branch is coming out of someone’s head, for example. Sunny days and open spaces can seem ideal, but careful not to give people racoon eyes, which happens when light is coming down from above and the eyes are dark from the shadow created by the forhead. Lastly, remember that green grass reflects green light onto people, so you will want to adjust the white balance on your camera or in photoshop.
My personal favorite outdoor location is the beach. One reason is the sand, which has a light warm tone that reflects light up into the eyes. The beach also has some really nice clean backdrops – in other words, few distractions that could otherwise pull our eyes away from the family.
3) What kind of light will there be? Will it be full sun, shade, overcast, sunrise, sunset, on camera flash, off camera flash, bounce flash or reflector? Of all of the factors that go into a great portrait, this is number one. It has taken me 15 years, in fact, to understand lighting fully – and I’m still learning. First off, get light into your subjects’ eyes. This is best achieved when the light source is at an angle of 10 to 20 degrees above the height of the subjects’ eyes, whether it’s a flash or the sun. It’s also preferable to have the main light source coming from behind the camera on the left or right side at 20 to 30 degrees.
Remember, however, if the sun is your light source, you can run into squinting problems, so pay attention. Some say overcast days are great for taking pictures – yes and no. An overcast day will definitely make the light softer, but the light is coming down and not at that 10 to 20 degrees we talked about. A silver reflector or flash will really help here. Also, on an overcast day, colors are muted. A good off-camera flash will make a big difference and with a soft box or umbrella it can look amazing. What’s the easiest light for a novice photographer? I’d have to say it’s the golden hour – 45 minutes before until 15 minutes after sunset. Atmospheric conditions can affect the light at this time, with summer having more haze at sunset and winter being more crisp. In other words, summer haze has softer, warmer light and winter has more vibrant, high contrast color with cooler tones.
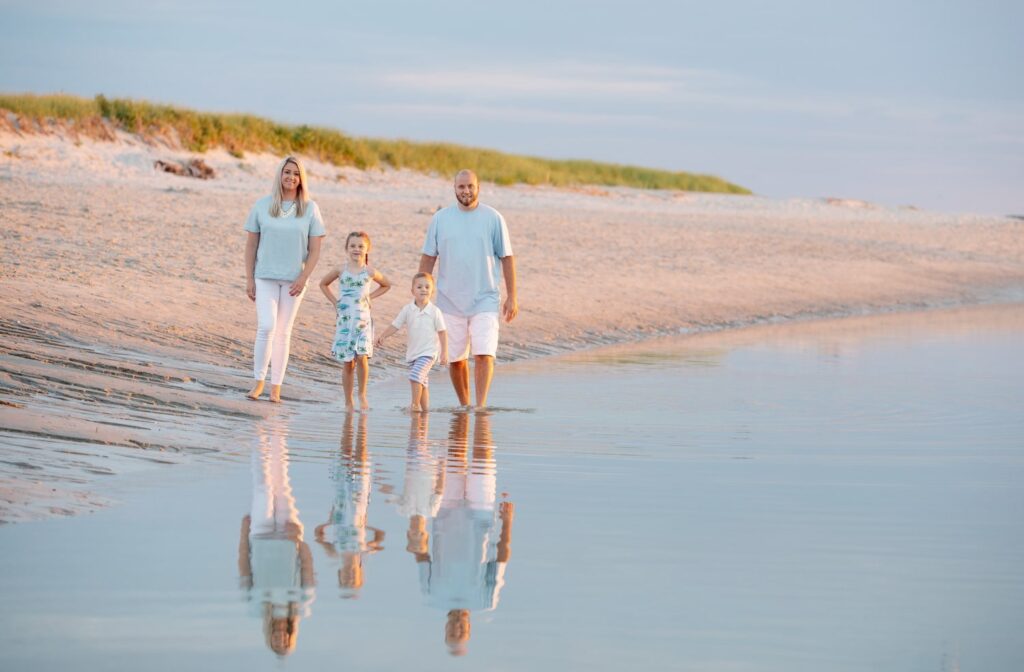
4) How will people (possibly even pets) be dressed? What kind of look do you want? Formal, informal uniform, or semi-uniform? What will be the color palette? This is an important one to get right. Do it wrong and you’ll end up on ‘100 Most Awkward Family Photos’ list! First, look at the colors of the background and choose colors that work well. At the beach, choose tan, blue and pastels. In the woods, choose brown, greens and darker colors, avoiding plaids, prints and stripes. Solid colors tend to be best, because they are the least distracting. And if you really want make it crazy everyone in blue and one person in red. All you will see, of course, is that one person in red. Essentially, keep colors and style similar – common themes without being a uniform (although sometimes this can look great).
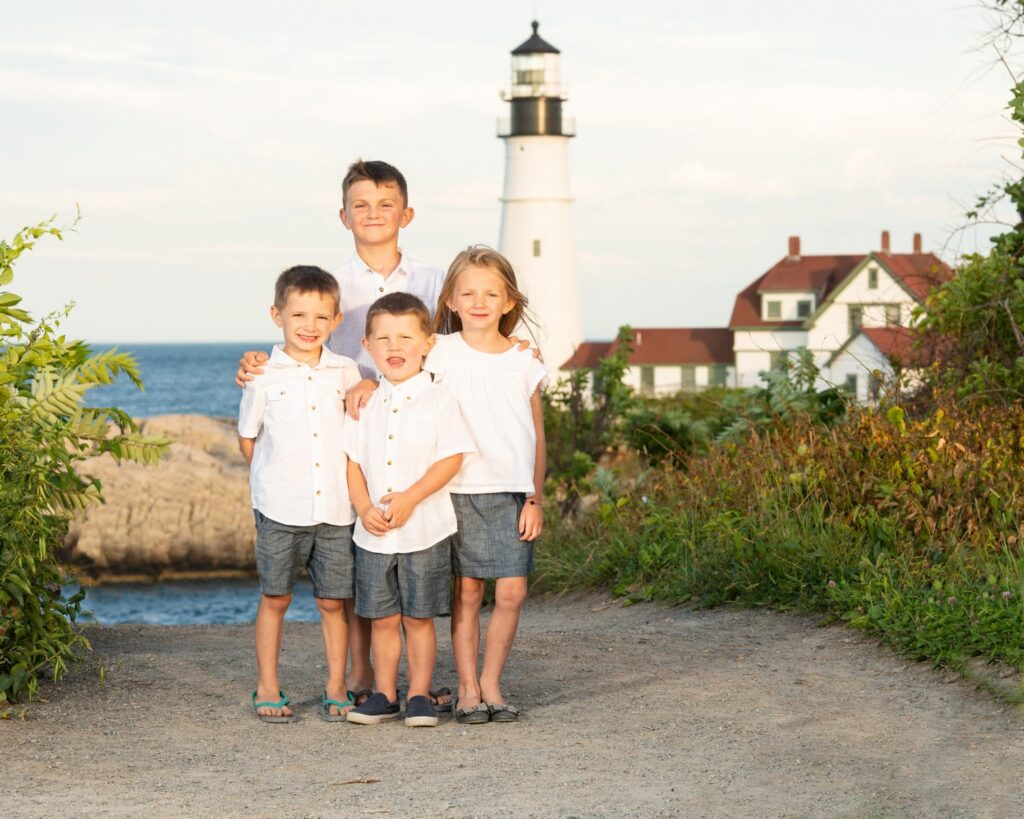 Family Portrait of the Kids at Portland – Headlight in Cape Elizabeth Maine
5) How will people be posed? Will it be more formal, more casual, people close, people far apart, people touching each other, or not, pets on one side, pets in the middle, children held or standing on their own, people sitting in chairs, on the ground…? People have written books exclusively about posing, but here are some quick takeaways:
– Don’t let people stand square to the camera. They will look like lined up sticks. Turn them slightly sideways, some in the same direction, some not.
– Have each person bend one leg slightly. This will really help to get rid of the stick effect. Women can bend the leg closest to the camera for a more feminine look.
–Tallest to shortest almost never works, so mix it up. If you have a lot of people, put the taller ones in the back row. Children and pets can go in the front. Infants can be awake or asleep, though I prefer asleep, as nothing will rather the others like a fussy baby. If the baby is awake, and if he/she looks at the camera – and smiles – as you push the button, well, you’ve just won the lottery.
– I always count before I take the picture, so everyone knows when to look at the camera.

You’re now on your way to creating a family portrait. And for those of you scratching your heads right now, thinking, ‘Geez, I just want a picture of the family,’ then by all means, take a snapshot. It’s actually amazing what an iPhone can do. But if it’s a Family Portrait you’re after, then this requires forethought and intention. A quality family portrait is a work of art, one that highlights the connections among subjects as well as with the surroundings.

And remember, Robert Akers Photography will be happy to help out if you need it. Just give us a call @ 207-985-4606 or click on the link to our get more info page.